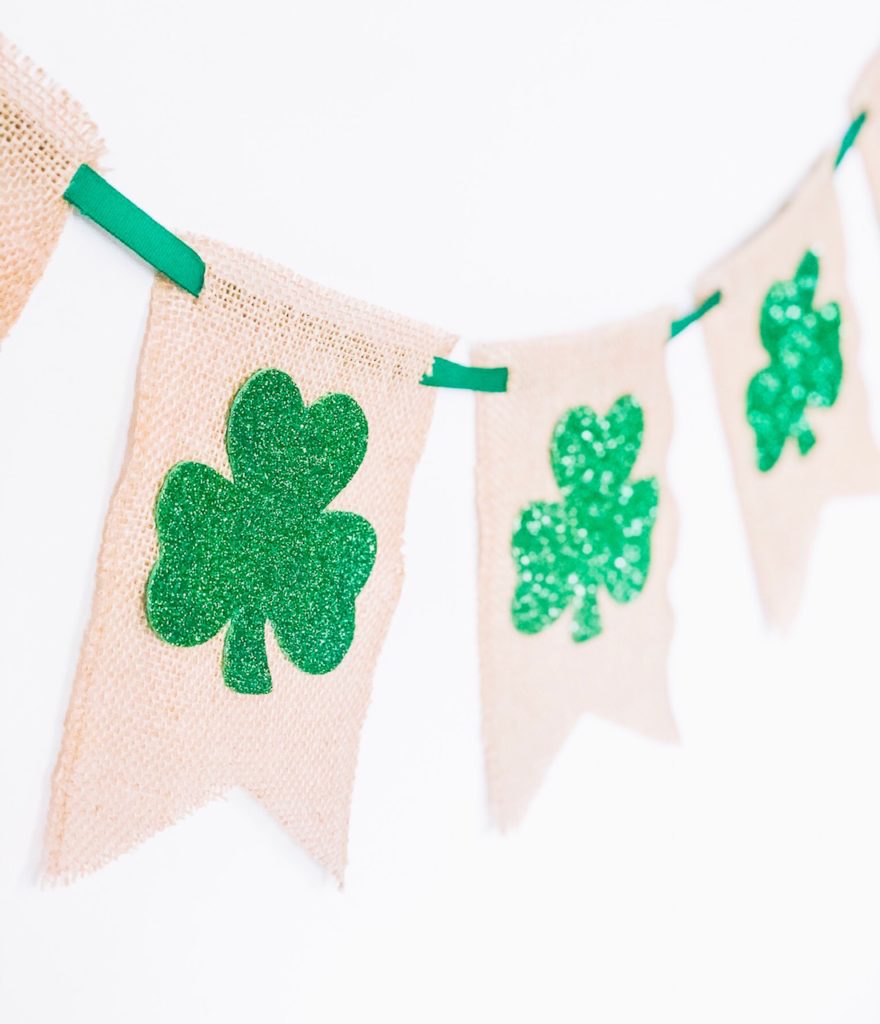
Add some luck to your home for St. Patrick’s Day with this easy DIY burlap shamrock pennant banner.
This post contains affiliate links. Which means at no extra cost to you, I may make a small commission as an Amazon Associate and member of other affiliate programs.
I don’t usually decorate for St. Patrick’s Day but I did want something fun for our fireplace mantel. Plus, you can’t go wrong with burlap and glitter! I love the combination and contrast in this burlap shamrock banner. I have received so many compliments on it and I know you will too. This banner is super easy to make and you can have it done in about an hour or less.
The great thing about this project is that it is easy to customize depending on your own likes and the supplies you already have on hand.
Supplies
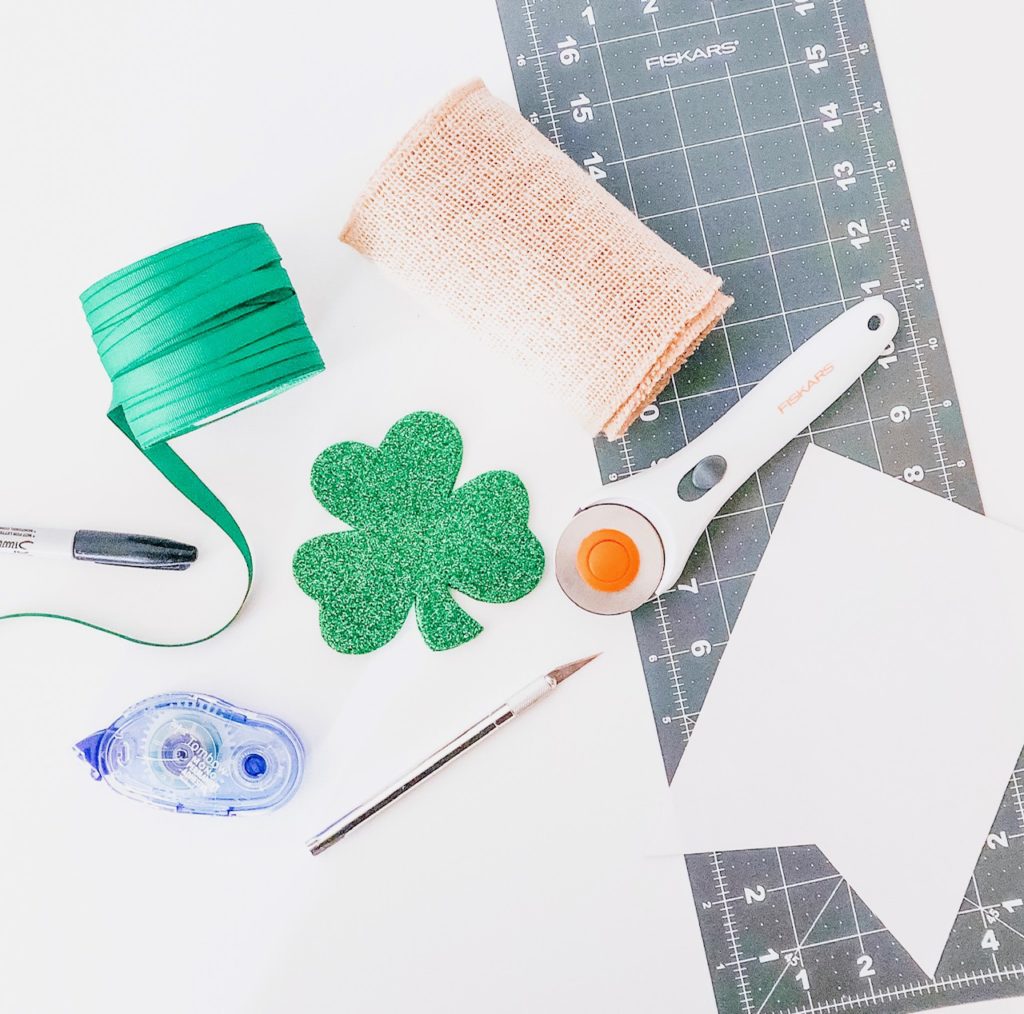
You can make your banner as long or short as you like, so you may need more or less of the burlap, shamrocks and ribbon or jute for the size you want. You may already have some of the supplies but if not, I have included links for you to purchase them.
- Pennant flag template (print here)
- 5″ wide Burlap ribbon or you can buy this pre-made burlap banner
- 4″ Shamrock template (print here). You may be able to find shamrocks at the dollar store or THESE on Amazon.
- Green glitter cardstock
- Green grosgrain ribbon 3/8″ or Jute twine
- Permanent tape or hot glue
- Scissors or a rotary cutter and board
- Marker or pen for tracing template
Step 1
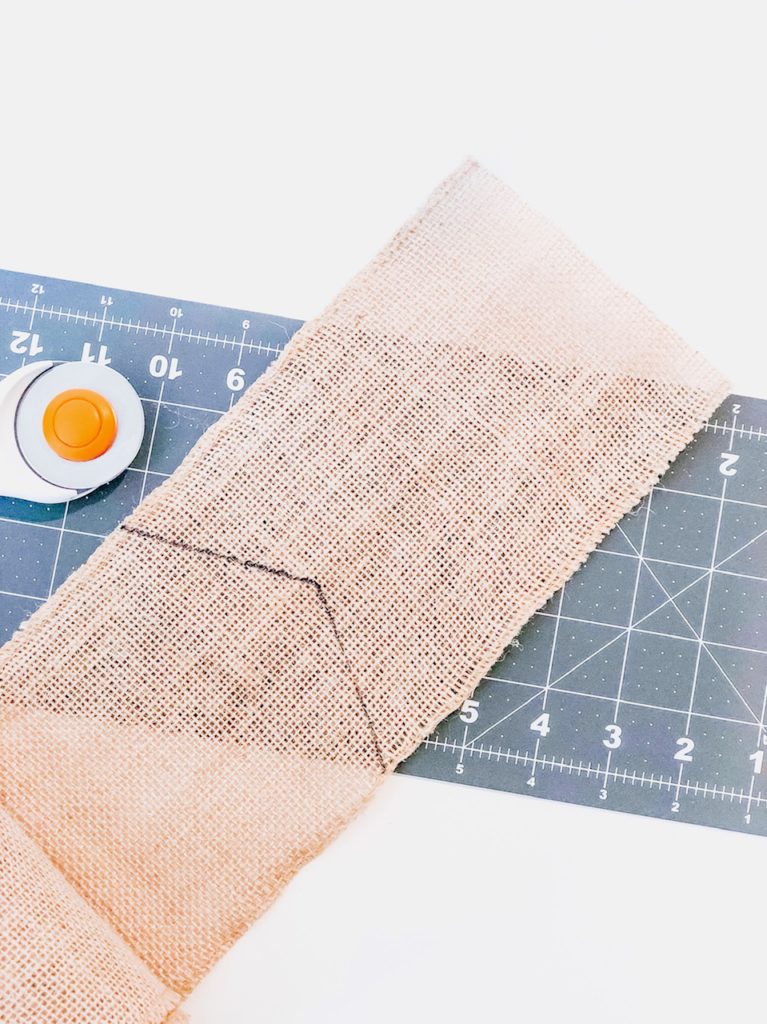
Print the flag template and cut it out. Trace the template on the burlap. Use scissors or a rotary cutter to cut out the flag.
Step 2
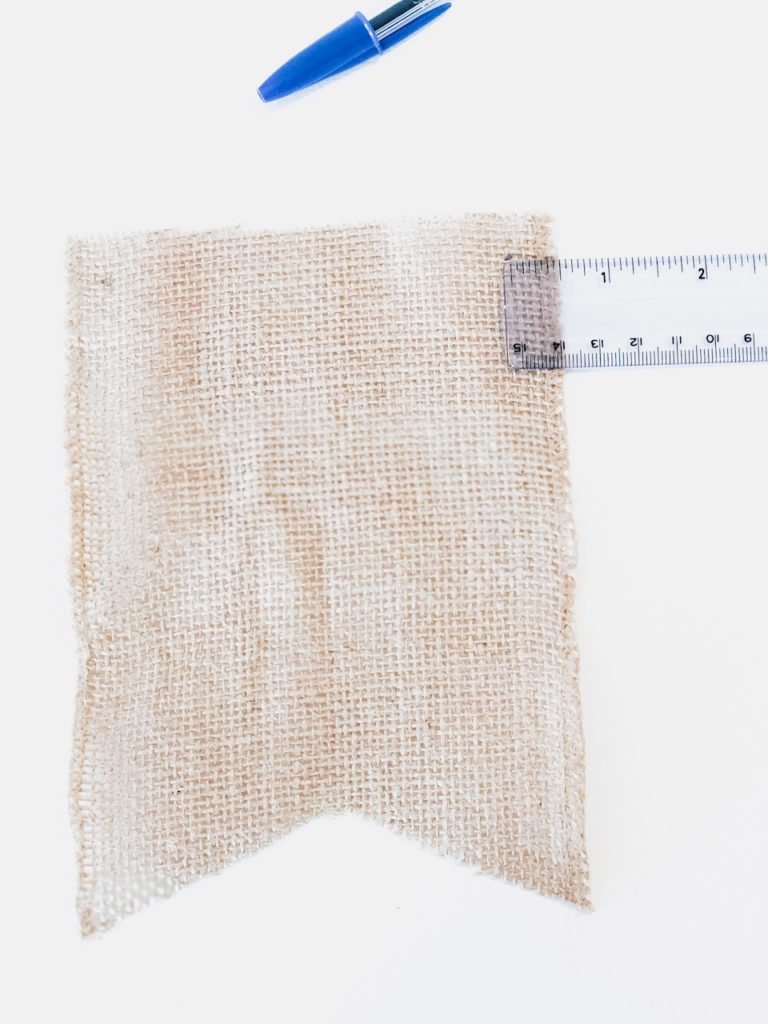
Cut a slit on both sides of the flag for the ribbon. To do this, make a mark a little less than a quarter of an inch from the top of the flag and a quarter of an inch from the side of the flag. Use either scissors or an xacto knife to cut the slits to the size of the ribbon you will be using. If you are using jute, use a pen to make the holes (the tip of a pen makes the perfect sized hole).
Step 3
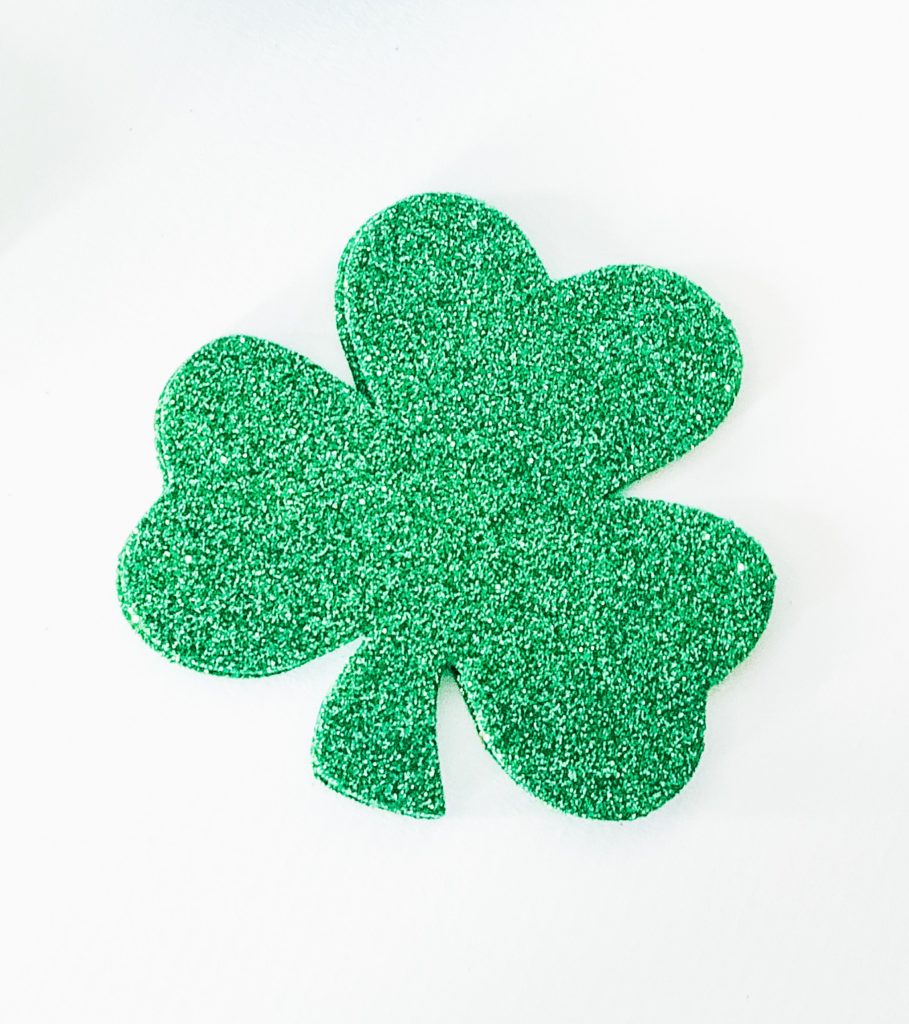
Print the shamrock template and cut out the shamrock. Trace the shamrock on the glitter paper. Then cut out the shamrock.
Step 4
Center the shamrock on the flag. I measured up 1 inch from the shortest part of the bottom of the flag. Then I placed the bottom of the shamrock at the 1-inch mark. Or place it where it looks best to you. Then use permanent tape or hot glue to attach the shamrock to the flag.
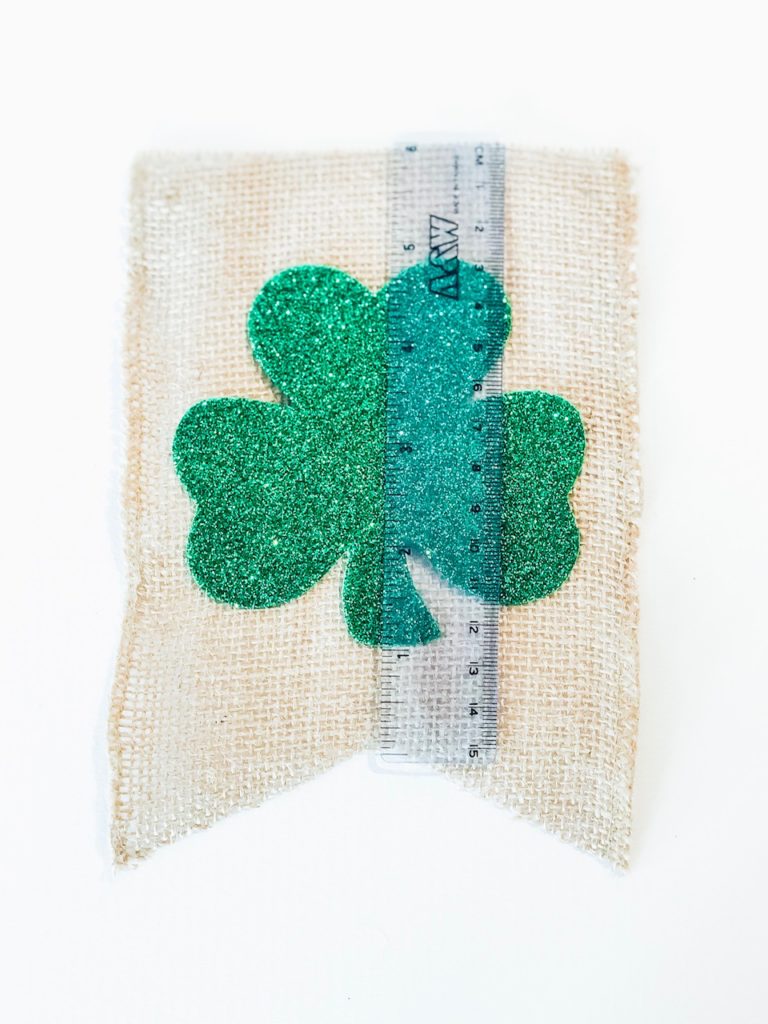
Step 4
Slide the ribbon or jute through the slits or hole you made. You will want the ribbon or jute to run along the back of the flag. Continue to slide the ribbon or jute through all your burlap shamrock flags. Wait to cut the ribbon or jute until you know how long you want your banner to be.
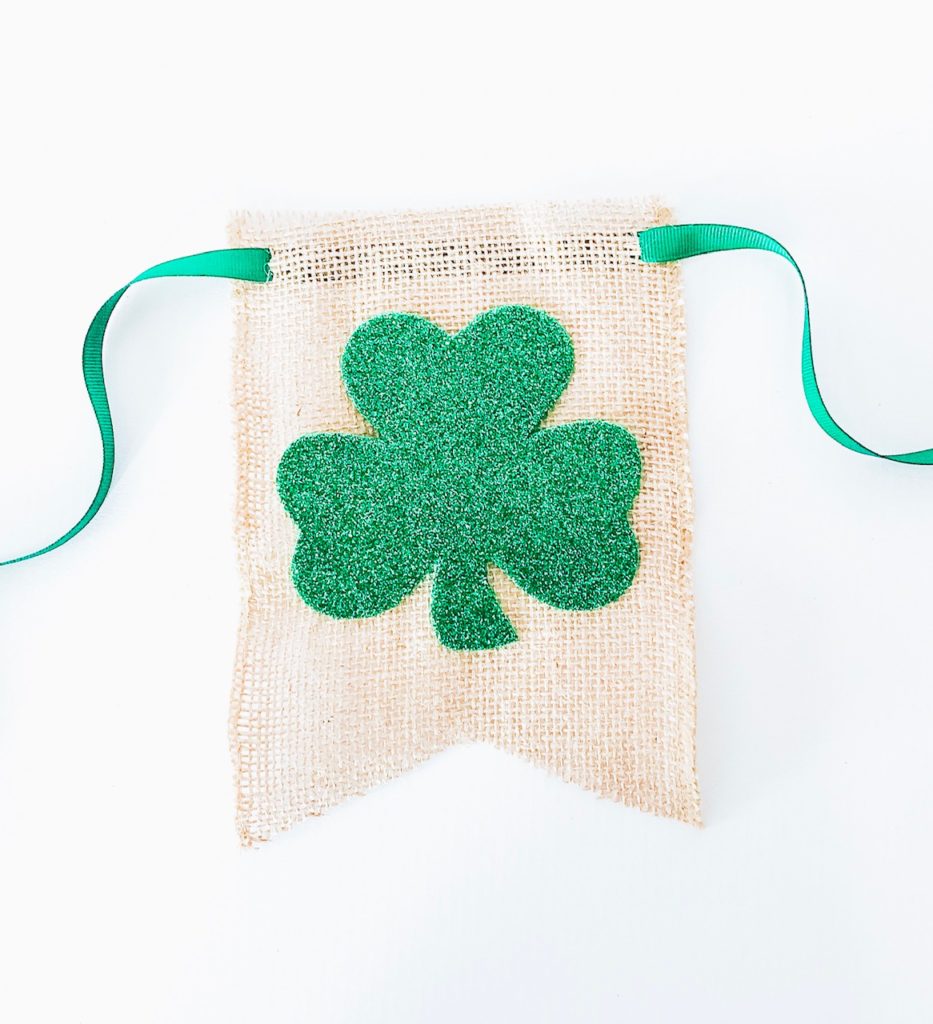
Step 5
Now hang your banner and enjoy it!
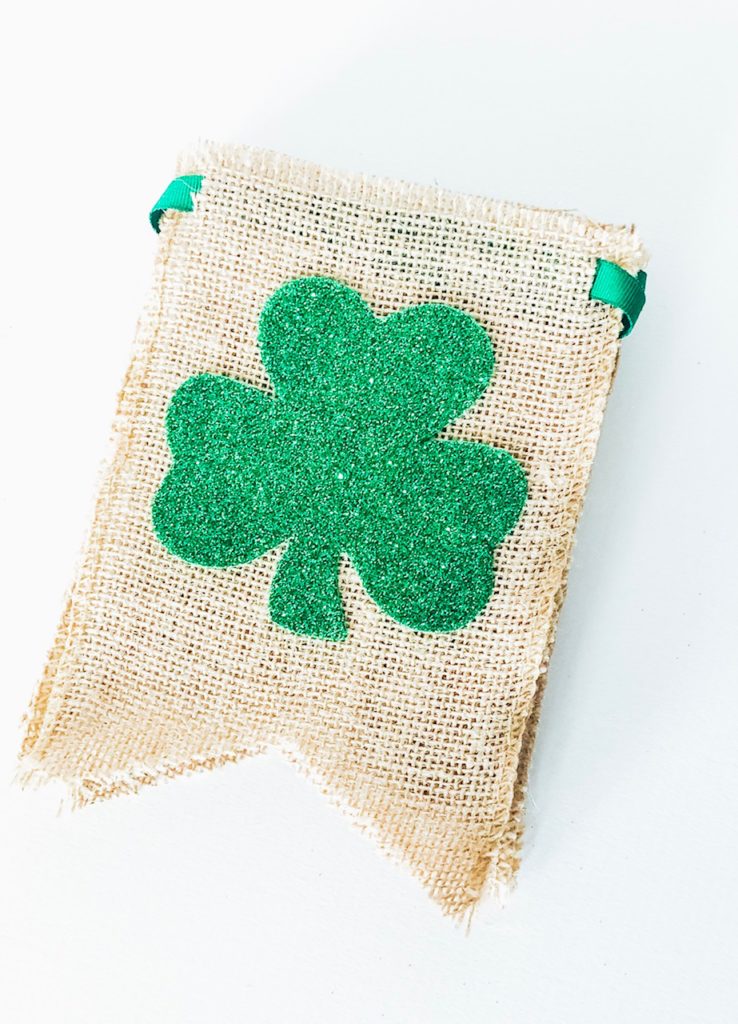
Tips for making a burlap shamrock banner
- To keep the edges of your burlap from fraying (as burlap does), paint the edges of the burlap with Modge Podge. It will dry clear and stop your flags from fraying.
- To add more structure to your burlap, you can add felt to the back of the burlap. Use the flag template and trace it on the felt. Cut it out and apply the felt flag to the burlap flag with Modge Podge or another adhesive (you could also try using the permanent tape). Press the two flags together and then let it dry. You can either add the felt after you have put the ribbon on or cut slits in the felt like you did the burlap.
PIN IT FOR LATER

Leave a Reply